How to make a ring wing glider
How to make a ring wing glider
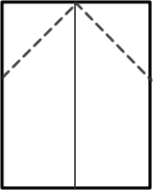
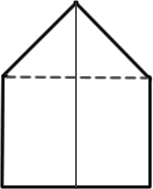
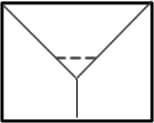
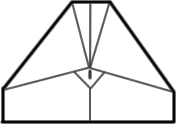
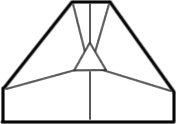
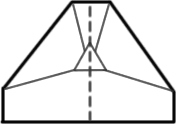
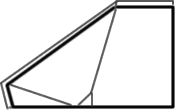
Most people, when making a paper airplane, tend to stick to the traditional dart design - but what is the best paper airplane desigm?. Over recent years, the paper airplane design has taken many forms but, probably the best example of aeronautical design is the plain, named after the origami artist who designed it - “The Nakamura Lock”. 1. Fold a piece of paper in half lengthwise and crease it . Open it back up (valley side up). 2. Fold the top 2 corners down to the centre fold. 3. Fold the tip down to the bottom. 4. Fold about one inch of the tip up; unfold. 5. Fold the top corners down to the centre fold so that the corners meet above the fold in the tip. 6. Fold the tip up. The “Nakamura lock”. 7. Fold the plane in half – if done correctly, you should see a triangle in the centre on both sides. 8. Fold the wings down. Trim and fly! To fly: give the plane a gentle push. Do not push too hard! Tip: If the plane nose dives towards the ground, compensate this by bending up the back of the wings.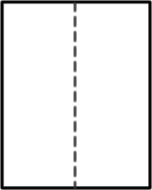
You may also be interested in:
Tags: How to make a ring wing glider; how to make a paper plane, whats the best paper for paper airplanes, how to make best paper airplane, best paper airplane design, best paper airplane designs, the best way to make a paper airplane, worlds best paper airplane, how do make a paper airplane, how do u make a paper airplane, how to make awesome paper planes, how to fold a good paper plane, how to fold a paper airplane, good paper airplane, paper plane how to
Tweet